How to Add Toploader in Next.js with TypeScript
Implementing a toploader (a loading indicator at the top of the page) in a Next.js application can significantly enhance the user experience by providing visual feedback during page transitions. In this guide, we’ll walk through how to add a toploader in a Next.js project using TypeScript.
Step 1: Set Up Your Next.js Project
If you haven’t already set up a Next.js project, you can create one using the following commands:
npx create-next-app@latestPlease create your project using typscript.
Step 2: Install nextjs-toploader
npm i nextjs-toploaderStep 3: Create a toploader component
Create a file named Toploader.tsx inside the components directory (create the directory if it doesn't exist):
import NextTopLoader from 'nextjs-toploader'
import React from 'react'

export default function TopLoader() {
  return (
    <>
        <NextTopLoader
            color="#2299DD"
            initialPosition={0.08}
            crawlSpeed={200}
            height={3}
            crawl={true}
            showSpinner={true}
            easing="ease"
            speed={200}
            shadow="0 0 10px #2299DD,0 0 5px #2299DD"
        />
    </>
  )
}
Step 4: Include the Toploader in Your Application
To include the Toploader component in your application, modify the app/layout.tsx file:
Import components
import TopLoader from "@/components/toploader";Adding components to yourapp/layout.tsx in body tag.
<TopLoader/>This is full code offapp/layout.tsx.
import type { Metadata } from "next";
import { Inter } from "next/font/google";
import TopLoader from "@/components/ui/toploader";
const inter = Inter({ subsets: ["latin"] });
export const metadata: Metadata = {
title: "Risqi Ahmad",
description: "Keep Explore The Code Universe",
icons: {
icon: '/favicons.ico',
},
};
export default function RootLayout({
children,
}: Readonly<{
children: React.ReactNode;
}>) {
return (
<html lang="en">
<head>
<link rel="icon" href="favicon.ico" sizes="any" />
<link rel="preconnect" href="https://fonts.googleapis.com/" />
<link rel="preconnect" href="https://fonts.gstatic.com/" />
<link href="https://fonts.googleapis.com/css2?family=Bricolage+Grotesque:opsz,wght@12..96,300;12..96,400;12..96,500;12..96,600;12..96,700&display=swap" rel="stylesheet" />
</head>
<body className={inter.className}>
<TopLoader/>
{children}
</body>
</html>
);
}Step 6: Run Your Application
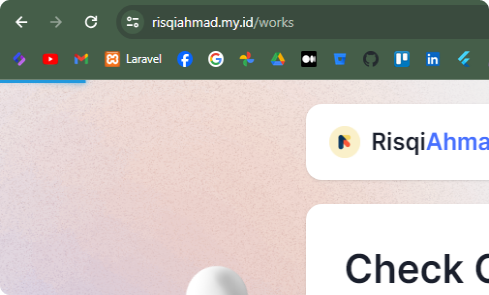
npm run devNow, when you navigate between pages in your Next.js application, you’ll see a nice loading indicator at the top of the page. You can see the toploader effect when you navigate to other page.
Conclusion
By following these steps, you’ve successfully added a toploader to your Next.js project using TypeScript. This small enhancement can greatly improve the perceived performance and overall user experience of your web application. Feel free to further customize the progress bar to match your application’s design.


